# Auth
提供基础认证功能和扩展认证器管理功能。
## 使用方法
### 认证器管理
页面:系统设置 - 认证
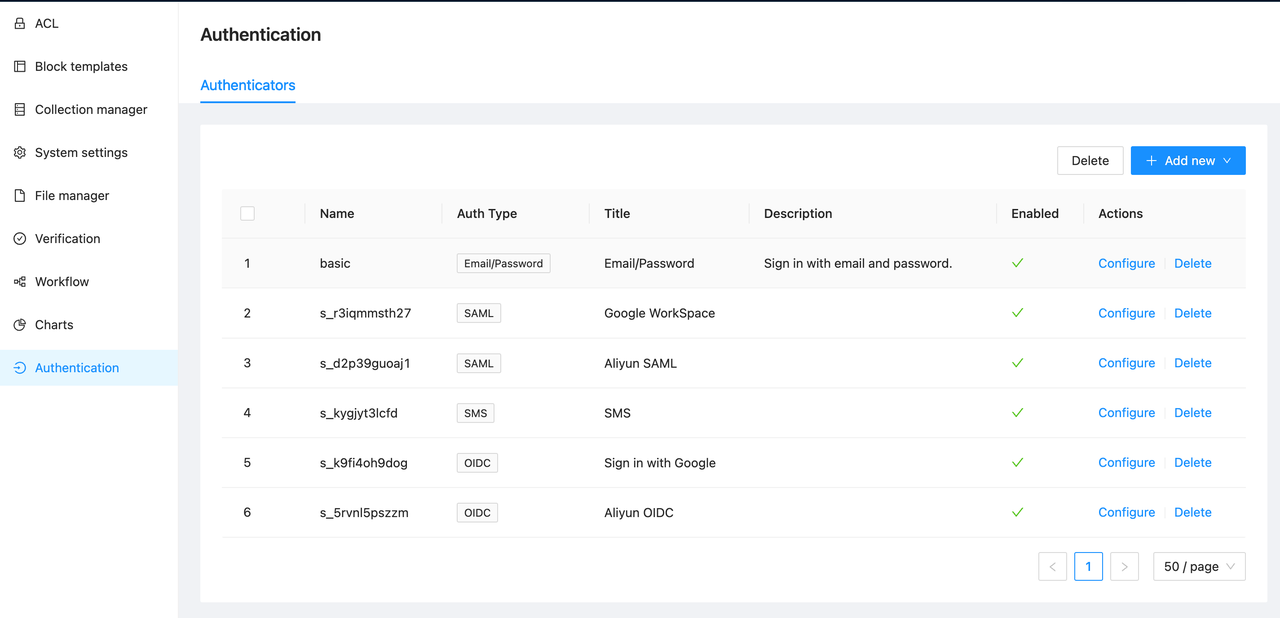 #### 内置认证器
- 名称:basic
- 认证类型:邮箱密码登录
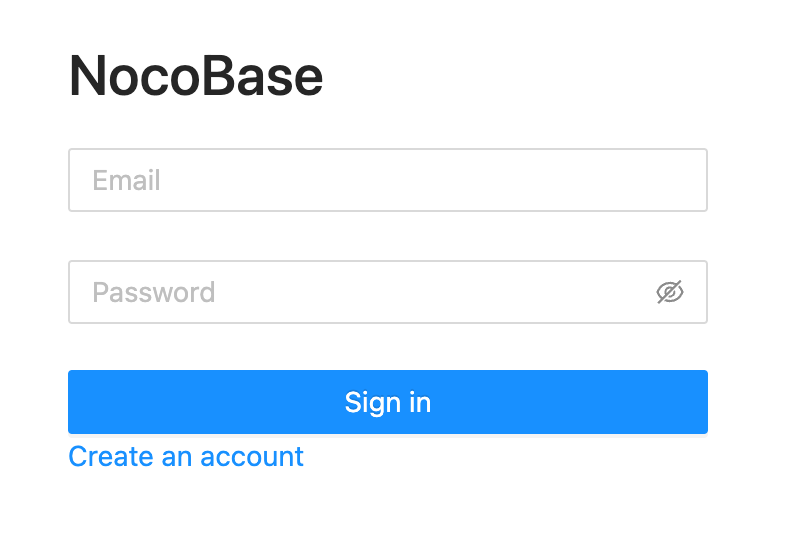
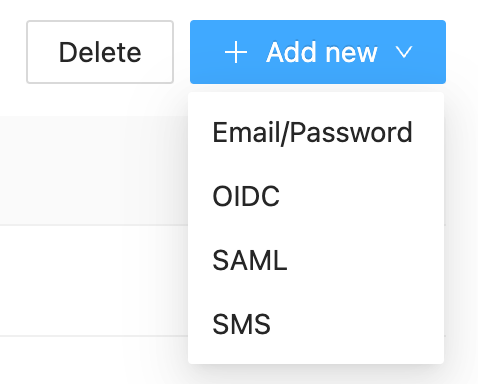
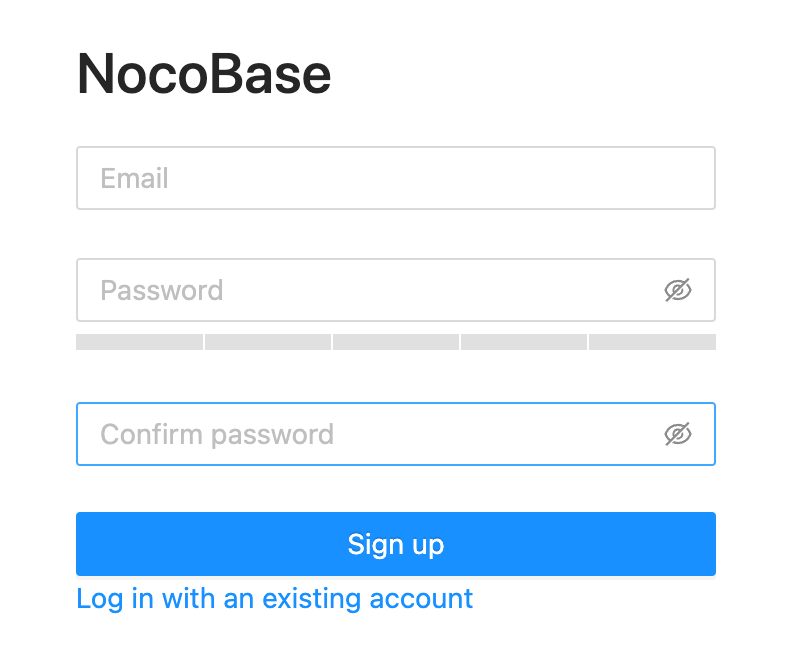 #### 增加认证器
Add new - 选择认证类型
 #### 启用/禁用
Actions - Edit - 勾选/取消Enabled
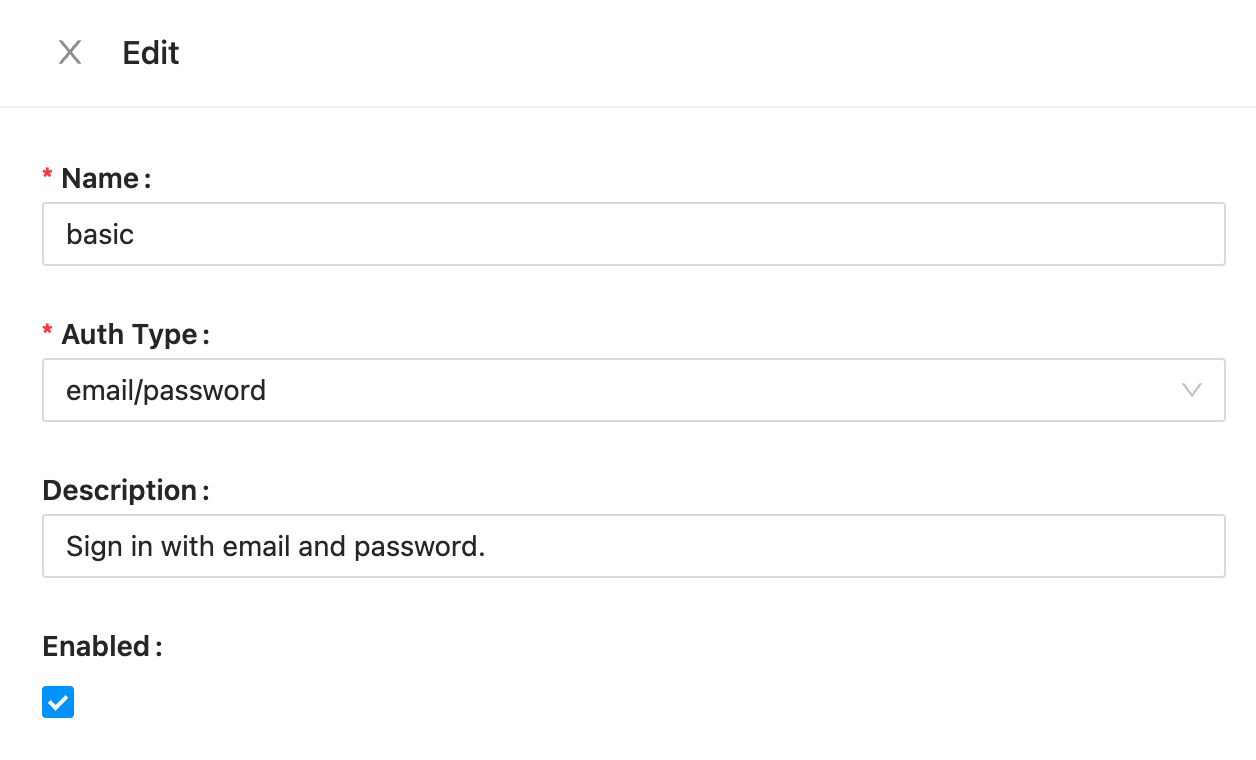 #### 配置认证器
Actions - Edit
## 开发一个登录插件
### 接口
Nocobase内核提供了扩展登录方式的接入和管理。扩展登录插件的核心逻辑处理,需要继承内核的`Auth`类,并对相应的标准接口进行实现。
参考`core/auth/auth.ts`
```TypeScript
import { Auth } from '@nocobase/auth';
class CustomAuth extends Auth {
set user(user) {}
get user() {}
async check() {}
async signIn() {}
}
```
多数情况下,扩展的用户登录方式也将沿用现有的jwt逻辑来生成用户访问API的凭证,插件也可以继承`BaseAuth`类以便复用部分逻辑代码,如`check`, `signIn`接口。
```TypeScript
import { BaseAuth } from '@nocobase/auth';
class CustomAuth extends BaseAuth {
constructor(config: AuthConfig) {
const userCollection = config.ctx.db.getCollection('users');
super({ ...config, userCollection });
}
async validate() {}
}
```
### 用户数据
`@nocobase/plugin-auth`插件提供了`usersAuthenticators`表来建立users和authenticators,即用户和认证方式的关联。
通常情况下,扩展登录方式用`users`和`usersAuthenticators`来存储相应的用户数据即可,特殊情况下才需要自己新增Collection.
`users`存储的是最基础的用户数据,邮箱、昵称和密码。
`usersAuthenticators`存储扩展登录方式数据
- uuid: 该种认证方式的用户唯一标识,如手机号、微信openid等
- meta: JSON字段,其他需要保存的信息
- userId: 用户id
- authenticator:认证器名字
对于用户操作,`Authenticator`模型也提供了几个封装的方法,可以在`CustomAuth`类中通过`this.authenticator[方法名]`使用:
- `findUser(uuid: string): UserModel` - 查询用户
- `newUser(uuid: string, values?: any): UserModel` - 创建新用户
- `findOrCreateUser(uuid: string, userValues?: any): UserModel` - 查找或创建新用户
### 注册
扩展的登录方式需要向内核注册。
```TypeScript
async load() {
this.app.authManager.registerTypes('custom-auth-type', {
auth: CustomAuth,
});
}
```
### 客户端API
#### OptionsComponentProvider
可供用户配置的认证器配置项
- authType 认证方式
- component 配置组件
```TypeScript
```
`Options`组件使用的值是`authenticator`的`options`字段,如果有需要暴露在前端的配置,应该放在`options.public`字段中。`authenticators:publicList`接口会返回`options.public`字段的值。
#### SigninPageProvider
自定义登录页界面
- authType 认证方式
- tabTitle 登录页tab标题
- component 登录页组件
#### SignupPageProvider
自定义注册页界面
- authType 认证方式
- component 注册页组件
#### SigninPageExtensionProvider
自定义登录页下方的扩展内容
- authType 认证方式
- component 扩展组件
 #### 内置认证器
- 名称:basic
- 认证类型:邮箱密码登录

 #### 增加认证器
Add new - 选择认证类型
 #### 启用/禁用
Actions - Edit - 勾选/取消Enabled
 #### 配置认证器
Actions - Edit
## 开发一个登录插件
### 接口
Nocobase内核提供了扩展登录方式的接入和管理。扩展登录插件的核心逻辑处理,需要继承内核的`Auth`类,并对相应的标准接口进行实现。
参考`core/auth/auth.ts`
```TypeScript
import { Auth } from '@nocobase/auth';
class CustomAuth extends Auth {
set user(user) {}
get user() {}
async check() {}
async signIn() {}
}
```
多数情况下,扩展的用户登录方式也将沿用现有的jwt逻辑来生成用户访问API的凭证,插件也可以继承`BaseAuth`类以便复用部分逻辑代码,如`check`, `signIn`接口。
```TypeScript
import { BaseAuth } from '@nocobase/auth';
class CustomAuth extends BaseAuth {
constructor(config: AuthConfig) {
const userCollection = config.ctx.db.getCollection('users');
super({ ...config, userCollection });
}
async validate() {}
}
```
### 用户数据
`@nocobase/plugin-auth`插件提供了`usersAuthenticators`表来建立users和authenticators,即用户和认证方式的关联。
通常情况下,扩展登录方式用`users`和`usersAuthenticators`来存储相应的用户数据即可,特殊情况下才需要自己新增Collection.
`users`存储的是最基础的用户数据,邮箱、昵称和密码。
`usersAuthenticators`存储扩展登录方式数据
- uuid: 该种认证方式的用户唯一标识,如手机号、微信openid等
- meta: JSON字段,其他需要保存的信息
- userId: 用户id
- authenticator:认证器名字
对于用户操作,`Authenticator`模型也提供了几个封装的方法,可以在`CustomAuth`类中通过`this.authenticator[方法名]`使用:
- `findUser(uuid: string): UserModel` - 查询用户
- `newUser(uuid: string, values?: any): UserModel` - 创建新用户
- `findOrCreateUser(uuid: string, userValues?: any): UserModel` - 查找或创建新用户
### 注册
扩展的登录方式需要向内核注册。
```TypeScript
async load() {
this.app.authManager.registerTypes('custom-auth-type', {
auth: CustomAuth,
});
}
```
### 客户端API
#### OptionsComponentProvider
可供用户配置的认证器配置项
- authType 认证方式
- component 配置组件
```TypeScript