| .. | ||
| docs | ||
| feature | ||
| plugin | ||
| scripts | ||
| .gitignore | ||
| package.json | ||
| README.md | ||
Tabby Plugin for Eclipse
Note: This repository is currently undergoing extensive development.
Development Setup
-
Install Eclipse with the Plug-in Development Environment (PDE). It is recommended to download the Eclipse IDE for Eclipse Committers for a more streamlined setup.
-
Ensure you have Node.js version 18 or higher installed. For package management, install pnpm. Using corepack is the preferred method for installation.
-
Clone the Tabby repository and install its dependencies:
git clone https://github.com/TabbyML/tabby.git
cd tabby
pnpm install
cd clients/eclipse
pnpm turbo build
This process will also build the
tabby-agentand place it into theclients/eclipse/plugin/tabby-agent/directory. -
Import the project into your Eclipse workspace.
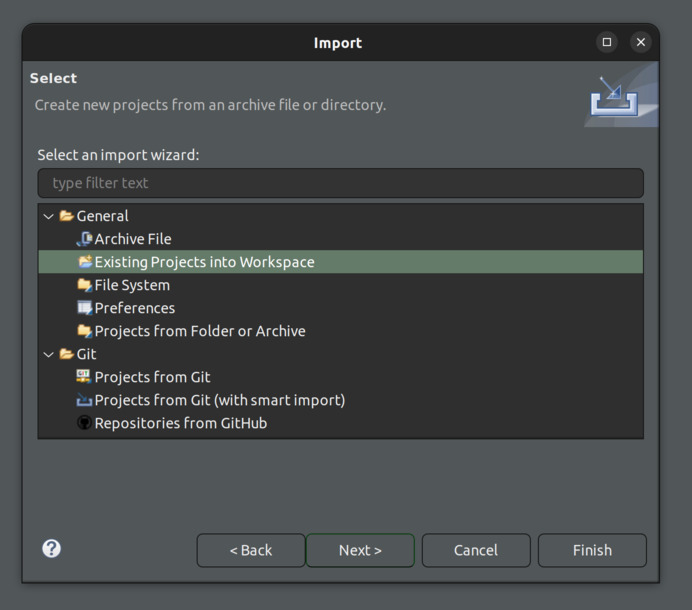
a. OpenFile -> Import..., select theGeneral -> Existing Projects into Workspaceoption, and clickNext.

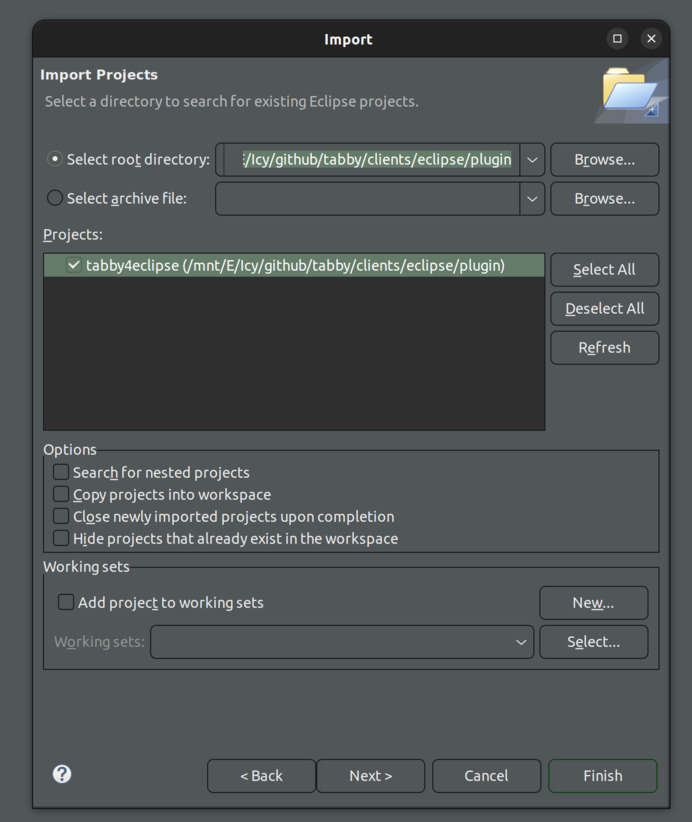
b. Select theclients/eclipse/pluginas the root directory, check the item to be imported, and clickFinish.

c. Then import theclients/eclipse/featuredirectory as well. -
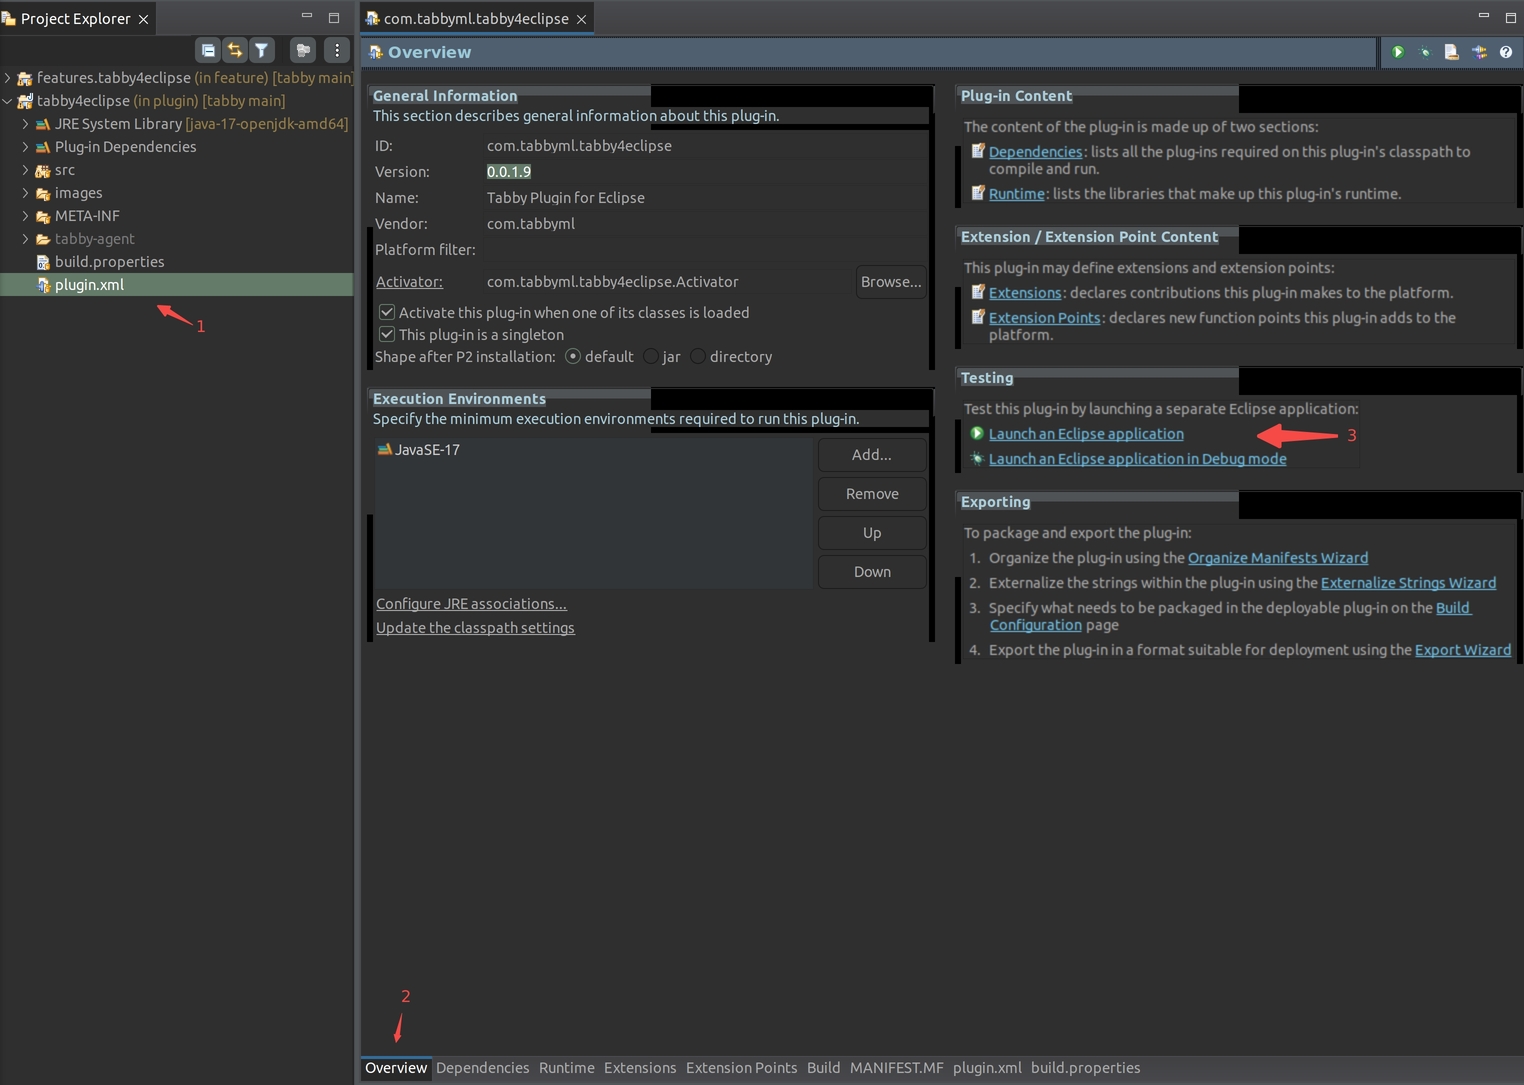
Open the
clients/eclipse/plugin/plugin.xmlfile in Eclipse. It should open as a plugin project overview. In theTestingsection, click onLaunch an Eclipse applicationto start the plugin.

Export a ZIP Archive
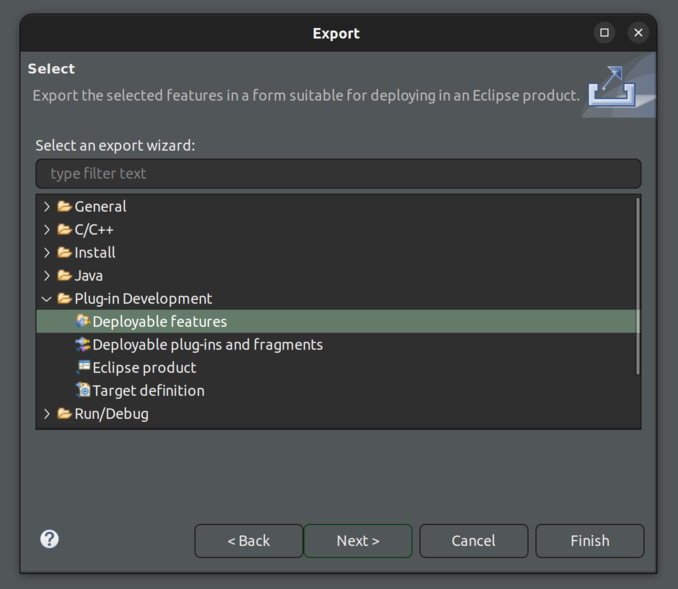
- In Eclipse, open
File -> Export..., select thePlug-in Development -> Deployable featuresoption, and clickNext.

- Check the
com.tabbyml.features.tabby4eclipse, then selectArchive filewith a specified file path, and clickFinish.
- The exported ZIP archive should be located at the specified file path. It can be installed by navigating to
Help -> Install New Software....